Smart Contracts via the L1 SDK
This walkthrough is a continuation of the Smart Contract Development tutorial. You can either follow along with an existing deployed contract, or complete part 1 of the tutorial to prepare your own contract for deployment and use in Unity.
Introduction
The purpose of this tutorial is to take the smart contract behaviors demonstrated in part 1 of this series, and prepare them for easy usage within the Unity editor. We will cover the following topics specific to LAMINA1 Network usage and smart contract interaction:
- Deploying a smart contract to the LAMINA1 Testnet Network
- Verifying the contract via the Testnet Blockchain Explorer
- Preparing a Unity scene for wallet and contract interaction
- Utilizing the L1 SDK toolset to create a prefab & script within the scene
- Additional resources for education and reference purposes
Pre-requisites & Assumptions
- You have a basic/intermediate understanding of the Unity editor, and the C# programming language.
- It is assumed that you have a standard ERC20 contract available for deployment to LAMINA1 Testnet, or an equivalent contract already deployed on the Testnet Network. If you do not have either available, please see part 1 of this tutorial series. Future updates to this documentation will include a pre-deployed contract for use in this tutorial.
- You have created a LAMINA1 wallet via the LAMINA1 Web Wallet, and have funded it via the Testnet Faucet. This wallet should only be used for testing purposes on LAMINA1 Testnet.
If all of that is in order, let's get started.
Step 1: Deploying the contract to LAMINA1 Testnet
We will use the Remix IDE and MetaMask to deploy the contract to the LAMINA1 Testnet Network. The generated C# classes do in fact contain their own self-deployment mechanism, which will be covered in subsequent updates to this documentation. For now, we will use the Remix IDE to deploy the contract, and then use the L1 Unity tooling to interact with it.
Connect MetaMask to LAMINA1 Testnet
See the Connecting Metamask to the LAMINA1 Testnet for instructions on how to connect MetaMask to Testnet. Ensure that the wallet you are connecting with is the one intended to be the owner of the contract.
Select MetaMask provider in Remix
Under the 'Deploy & Run' tab in Remix, select the 'Injected - MetaMask' in the Environment dropdown. The Account field will update to reflect the account(s) that you have connected to the site. Choose the address of the intended contract owner.
Step 2: Generating Contract Classes in C#
The first step is to deploy the contract to the LAMINA1 Testnet Network. Utilizing the code generation capabilities of the Nethereum .Net Library, we can generate a C# class that will allow us to interact with the contract via the L1 SDK. This is a very useful tool, as it allows us to interact with the contract without having to include/maintain any ABI information in the codebase itself.
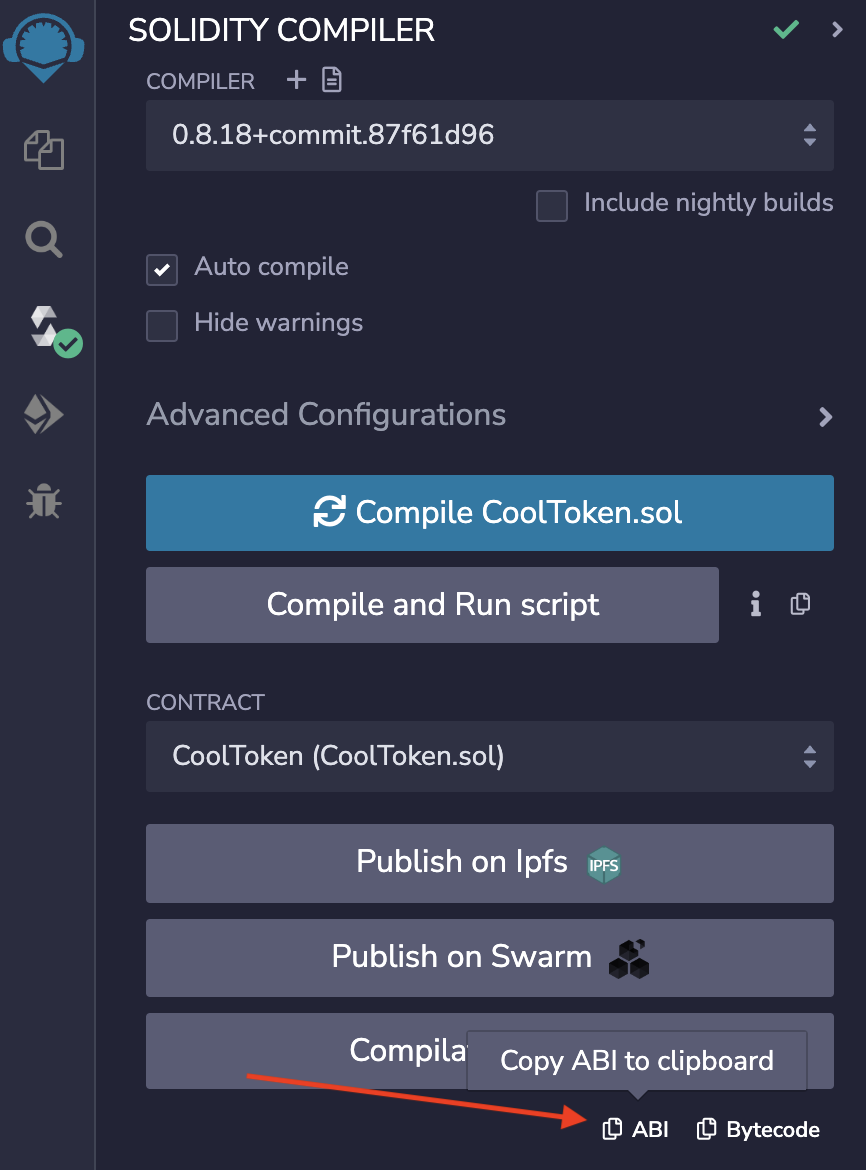
Before we can do so however, we must compile the contract to retrieve the ABI. You can refer to the Compiling the Contract section from part 1 of this series to compile via Remix, or use whichever IDE/plugin combination that you prefer. In the Remix IDE, once a contract is compiled you can access the Compiler panel and use the 'ABI' button to copy the ABI to your clipboard.
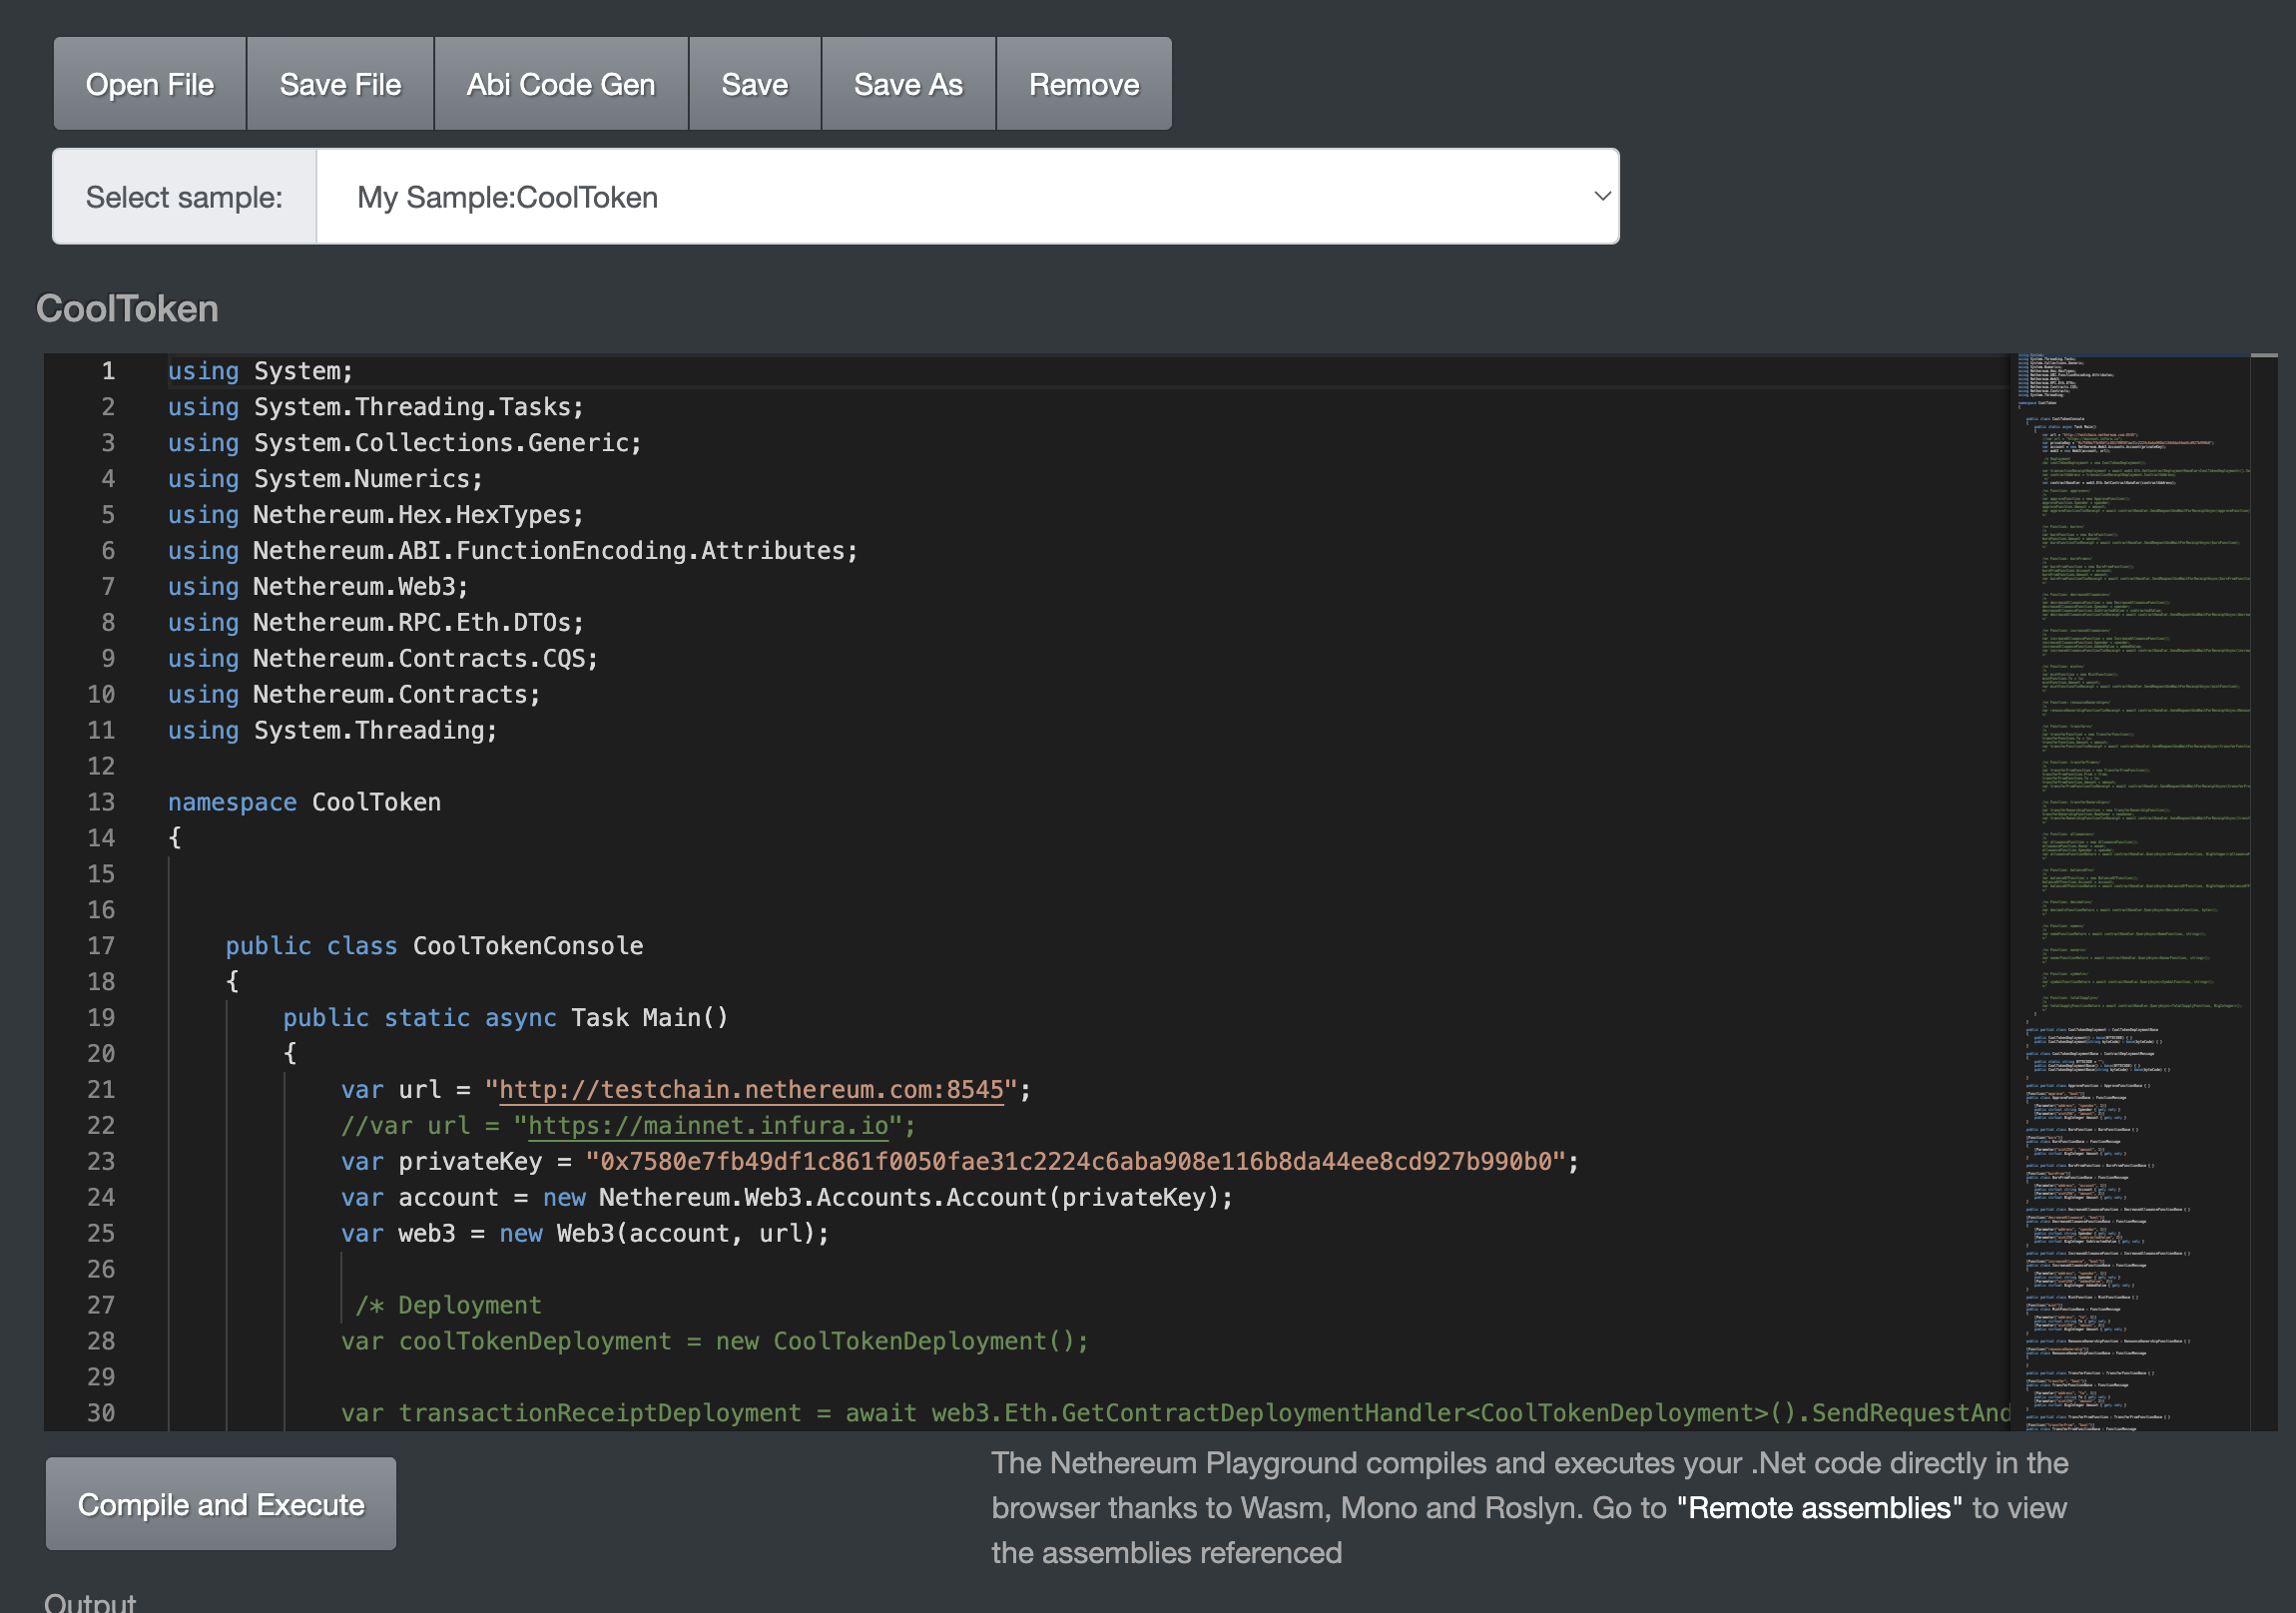
Pasting this into any text editor, you'll notice it is simply a JSON object that specifies the interface of the smart contract (constructor, methods, events, etc.). This JSON can be entered directly within the 'ABI Code Gen' section of the Nethereum Playground in order to generate a fully type-safe C# class representing the structure of the contract. The site is hosted by Nethereum, and runs code directly in your browser via Mono Wasm, Roslyn and Blazor technologies. It also provides several examples of how to use the generated class, and is a great resource for learning more about the Nethereum library that is foundational to the LAMINA1 toolset.
- Navigate to the Nethereum Playground site.
- Once loaded, click the 'Abi Code Gen' button at the top of the page.
- Enter the exact name of the contract that's specified in the contract source code (CoolToken), and paste the ABI JSON into the 'ABI' field.
- Click 'Generate Code'.
The ABI Code Generation Panel

The Generated C# Class
Once complete, you should see a C# class generated that represents the contract. You can download the file directly from the site, which you should do. We will be using this C# output in the next step.
Step 3: Add the C# scripts to Unity
This is as simple as importing any other C# sharp via drag/drop or copy/paste. Import the scripts into a Contracts folder wherever you see fit, and verify there are no compilation errors.
Step 4: Entering Unity territory
At this point, your project can now interact with the L1 Network and smart contracts directly. Since C# code was generated directly from the contract ABIs, you now have direct contact with the LAMINA1 Network within C#/Unity. Our avoidance of common pitfalls relateded to WebGL thread limitations, and stacking up StartCoroutine calls instead of using async/await patterns are just two examples of how L1 Engineering's mission includes making Web3 development accessible to all creators & developers.
More Self-Learning Challenges
You can decide to attempt the self-learning challenges in part 1 of this tutorial series via your newly generated classes, or go ahead and continue to the next section which provides additional resources for developers and creators interested in learning more about L1 and web3 concepts in general.